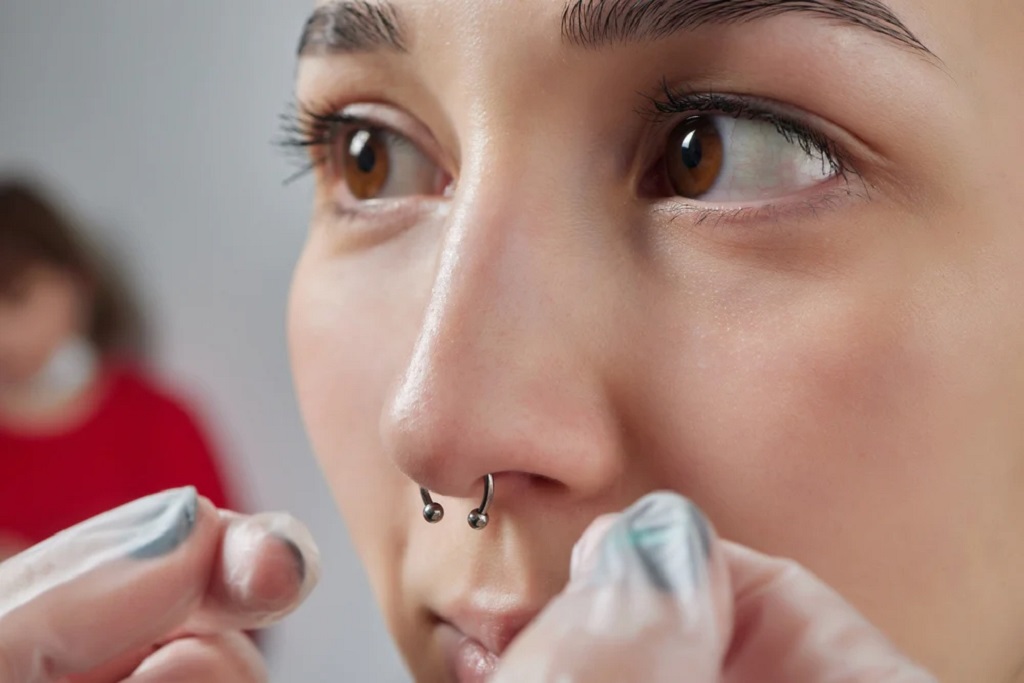
Best Steps for Numbing and Cleaning the Pierced Skin
When you get a new piercing, it’s important to make sure that you take good care of it so that it doesn’t become infected. One of the most important steps is to make sure that you clean it properly. Here are the best steps for numbing and cleaning the pierced skin.

Use the Numbing Cream
Getting ready for getting a new piercing but do you have any idea how much does a piercing hurt? Yes! It hurts a lot. That is why it is important to use a numbing cream on the pierced area. This is designed to help reduce discomfort and promote healing. Make sure that you use it according to the manufacturer’s directions; usually, this means applying a small amount of the cream on the area surrounding the piercing and letting it take effect for anywhere from 10-30 minutes.
Make Sure You Dry It
Dried blood and body fluids can irritate the skin around your new piercing; to prevent this from happening, make sure that you thoroughly rinse and dry the pierced area using a clean towel or paper towel. If possible, try to wash off as much of the dried blood as possible before rinsing with water since this will reduce irritation and help promote healing.
Use Soap to Clean It
Using soap can be an important part of cleaning your new piercing. It is recommended to look for the best soaps to clean piercings. These soaps should be free of perfumes and dyes that may irritate the skin.
Rinse Again
After washing and drying the pierced skin, make sure that you rinse it gently with sterile or boiled water (if you don’t have access to either one, make sure that you use bottled drinking water). Then, use a clean cotton swab to carefully remove any gunk and dried blood from within your piercing.
Make Sure That You Use a Fresh Towel
While it may seem obvious, this step is important because each time you clean your piercing, you run the risk of re-infecting it from using an unclean towel. This is especially true if you have access to only one towel which you use for all types of purposes. To prevent infection, make sure that you always use a clean and unused area of the towel each time you clean your piercing.
Apply a Thin Layer of Antibiotic Cream
After thoroughly cleaning your new piercing, apply a thin layer of antibiotic ointment around the pierced skin to help promote healing and protect against infection.
Let the Piercing Breathe
It’s important that after you clean your new piercings, you let them “breathe” without covering them with bandages or other dressings. This will allow air to circulate around the area which can prevent irritation and promote healing by reducing pressure against the wound.
Wash Hands Thoroughly
Finally, one of the most important steps for numbing and cleaning the pierced skin is to make sure that you wash your hands thoroughly using warm soapy water before each time you touch your piercing because doing otherwise can transfer bacteria from your hands into your piercing which can cause problems such as infection. If possible, try to have someone else put on gloves if they are available instead of touching your newly pierced skin with your hands.
Revisit Your Piercer
In addition to taking good care of your piercing, it’s always a good idea to schedule regular visits with your piercer so that they can monitor the healing process. Doing so will not only ensure that you properly care for your new piercings, but also help detect and treat any problems associated with them.
Conclusion
Piercing the skin can be a fun and creative way to express yourself, but it’s important to take proper care of the wound in order to avoid infection. By following these simple steps for numbing and cleaning the pierced skin, you can ensure that your new piercing heals quickly and without any problems.